
After a first introduction on creating a first application with Android, we are going to do the same manipulation and this time with IOS.
Creating an application with IOS itself is easy. There is no difference with Android.
This article will be short and will focus instead on my experience. To summarize, the least obvious step was the deployment of the application on a “real device”, in this case the iPhone.
Prerequisites for deployment on a device
xcode
Xcode is the must-have software if you want to run an application on an iphone or ipad.
Go to https://developer.apple.com/develop/ and download Xcode. We also need to create an Apple developer account if we don’t already have one. Registration is free. Having a developer account is required to test an application on an iPhone.
Homebrew
Homebrew is the macOS package manager just like Chocolatey for windows or aptitude for linux. It will be useful to install a few bookstores for communicating our application to IOS.
Open a terminal and type the following command to install Homebrew
/usr/bin/ruby -e "$(curl -fsSL https://raw.githubusercontent.com/Homebrew/install/master/install)"Once Homebrew is installed, we can install the various useful packages.
Let’s get this set up.
brew update
brew install — HEAD usbmuxd
brew link usbmuxd
brew install — HEAD libimobiledevice
brew install ideviceinstaller
brew install cocoapods
usbmuxd , libimobiledevice and ideviceinstaller are libraries to communicate with IOS natively >> http://www.libimobiledevice.org/
Cocoapods is a package manager for Swift and Objective-C. These are the programming languages often used to create an IOS application.
pod setupLet‘s install Flutter
We will download the SDK for mac here https://flutter.dev/docs/get-started/install/macos

Create the /Users/mr/flutter folder and extract the downloaded zip from this folder.
We create or add an entry in our PATH environment variable that will have the following value: /Users/mr/flutter/bin
In the terminal, we type this
export PATH="$PATH:/Users/mr/flutter/bin"Test for proper operation by typing
echo $PATHCheck flutter install before creating the application
flutter doctorWe must have the following information in our terminal
[✓] Flutter (Channel stable, v1.5.4-hotfix.2, on Mac OS X 10.13.6 17G7024,
 locale fr-FR)
[✗] Android toolchain — develop for Android devices
 ✗ Unable to locate Android SDK.
 Install Android Studio from:
 https://developer.android.com/studio/index.html
 On first launch it will assist you in installing the Android SDK
 components.
 (or visit https://flutter.dev/setup/#android-setup for detailed
 instructions).
 If the Android SDK has been installed to a custom location, set
 ANDROID_HOME to that location.
 You may also want to add it to your PATH environment variable.
[✓] iOS toolchain — develop for iOS devices (Xcode 10.1)
[!] Android Studio (not installed)
[✓] Connected device (1 available)
! Doctor found issues in 2 categories
So far, we’re right because we don’t need Android.
Let’s create our 1st app
In the terminal, we go to a folder for example /Users/mr/flutterapps and type this:
flutter create firstappThat this task makes :
- It creates the firstapp folder
- In the firstapp folder, it creates an application that will use the Material Components.
Let’s roll this app…on our iPhone
I will first quote the versions of the tools used in this demo:
- xcode: 10.1
- IOS: 12.3.1
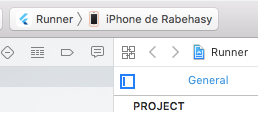
We run Xcode and open the file Runner.xcodeproj at the root of the project.
Then in the left pane of Xcode, click Runner
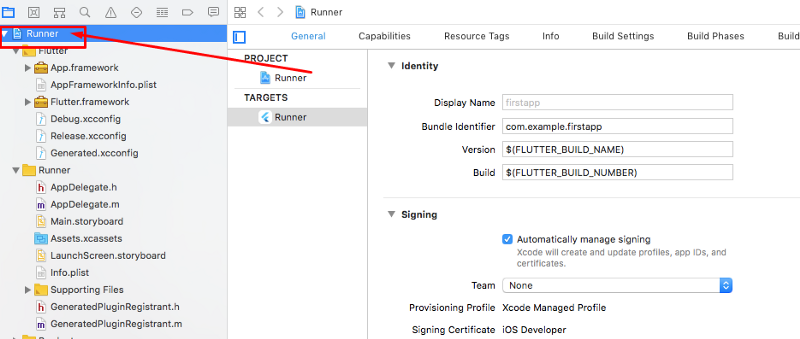
In the middle column and in the Status field, a red icon informs us that something is missing
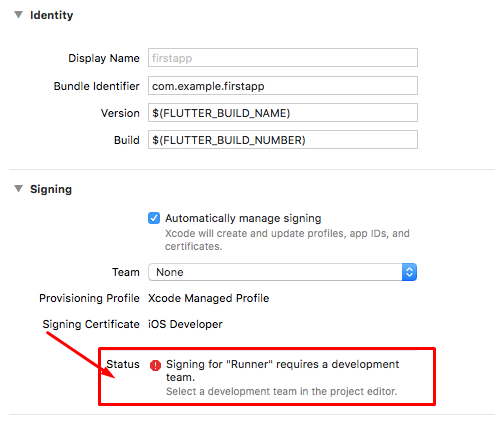
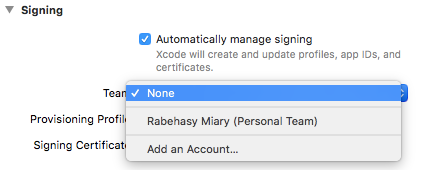
In this field, we add our developer account. We choose our name in the Teamfield.
2 other red icons appears.
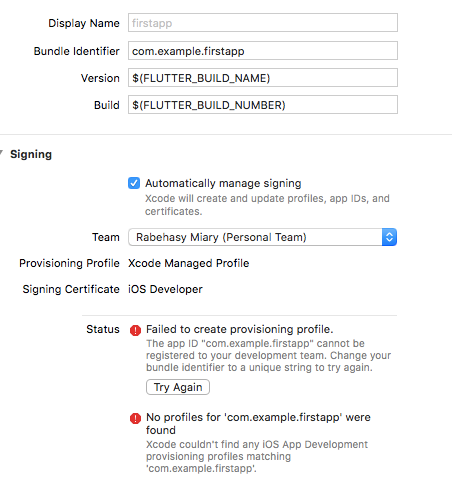
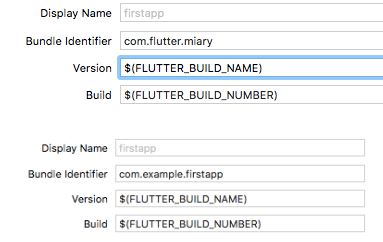
Because the field identifier “Bundle Identifier” com.example.firstapp has the default value and this identifier has already been used by another application in Apple Store (probably the first flutter application;). We’ll just change the value of the “Bundle Identifier” field to com.flutter.miary as on the capture and the problem is resolved.
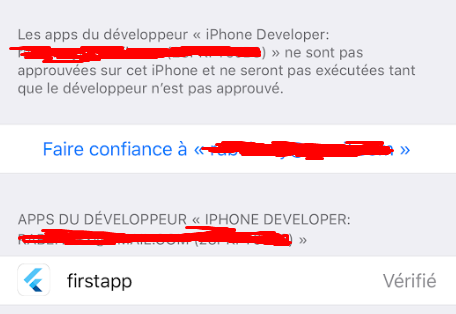
We’re OK on Xcode. We go into the iPhone settings to prepare him to accept the application once the “launch” button is clicked from Xcode.
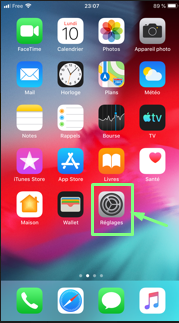
We go to Settings
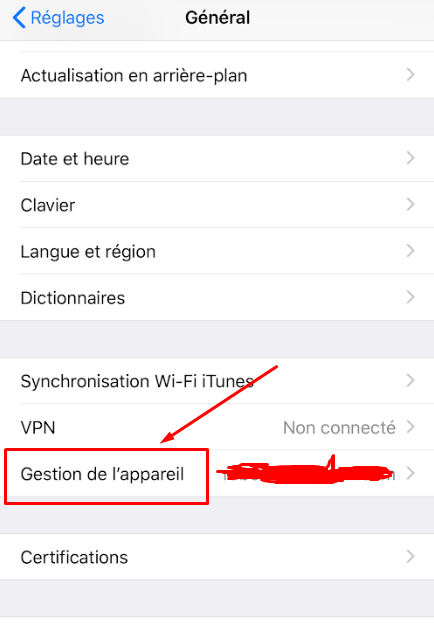
… then on Device Management
…click on our name

We go back to Xcode. We will now launch the application from Xcode to our phone. We choose our phone from the list of devices offered in Xcode
Then on the icon “ Build “

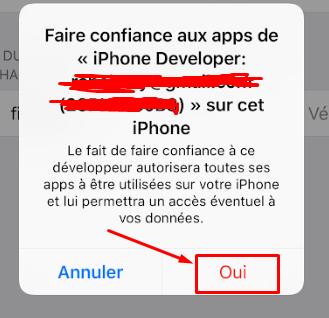
In our iPhone, we authorize the installation of the application by clicking on “Trust moncompte@dev”
Click on “YES” in the popup
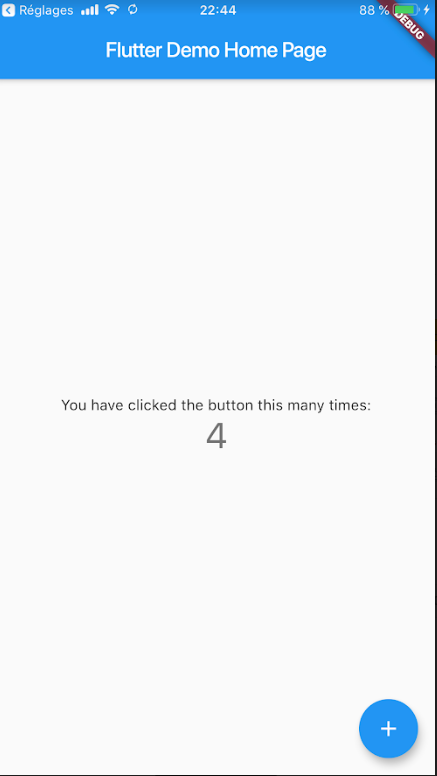
And now we have our app launched in our phone
This post is published on Medium too